Adventures of the Flooded 4-Plex pt.2
SO... ABOUT THIS FLOODED 4-PLEX
Right after the last blog post, I went to work tearing out the wet carpet and pad, and began running blowers in each of the 4 bedrooms and two hallways.
In two of the bedrooms there was literally standing water on the concrete floor.

The carpets and pads dripped as I carried them out to the front yard. Each apartment had a pile for the dump, shown below...

HOW WE APPROACHED THE REPAIR
There are two subcontractors involved in the repair:
All-Phase Excavating (Note: This link is no longer active)
I can't speak highly enough about both of them... they've been so prompt, so communicative, so fair with their prices, and so good at what they do.
As for how we're actually doing it...If the site were more difficult, we could have chosen to remove flooring and sheetrock, and use various products and sealants to try to create a waterproof membrane or matrix from the inside out.
This CAN work. The problem is, over time, ALLLL that water pressure being held back by your membrane will eventually push through the membrane.
If you can put the repair on the OUTSIDE of the wall, the water pressure actually helps hold it in place!
THE OUTSIDE APPROACH
It's not always practical to approach a repair from a basement's exterior. There are often decks, patios, driveways in the way. Those would need to be removed before a backhoe can begin digging out the earth up against the building... and then re-constructed after the repair.
That is often why such repairs are SOOO expensive.
But we didn't have anything built along the back of the 4-plex. The actual depth was only about 6 feet at the most. And access was as easy as driving the backhoe off a trailer and straight to the excavation site.
So that's exactly what we did.

As the rain continued to fall, the team from All-Phase Excavating surgically removed every last bucket-full of sod, dirt and rock, exposing the leaky foundation for inspection and repair.

See those short sections of concrete "pipe" (drain tiles) in the photo above? That was the footing drain installed in 1967 when the building was new. Even when new, they don't connect together... they just sit next to each other near the footing.
On both sides of the building, those drain tiles are completely packed with mud. Even if they do go somewhere, no water could flow through them.
In the photo below, the drain "outlet" is in the upper right corner of the trench. It is completely ineffective. *We will have to figure out where to send the water once we capture it.

HOW WAS WATER GETTING INSIDE, THOUGH?
At the footing, all the way near the very bottom of the foundation, the original builders used wooden form ties to hold their concrete forms together. Over time those rot away, leaving nice little "mouse holes" for water to enter. There are a bunch of them, spaced about every 4 feet.
Water enters there, then pushes up through the "cold joint" between the slab (floor) and wall. It then shows up on the bedroom floor.
Here's a picture of me pointing at one of the holes...

Those obviously need to be filled. That, and all the waterproofing work I describe below is being done by Foundation Restoration.
Once the holes are filled, we're going to coat the entire foundation wall with waterproofing product (I'll share it once I know the name... it goes on tomorrow), and a drainage mat commonly called "dimple board."
Dimple board protects even further from water intrusion, but it also helps by breaking the hydrostatic pressure of all those thousands of gallons of water pressing up against every tiny opening in the concrete.
Here's a look at some dimple board...

Once that's on, we'll install new, modern, plastic drain pipe along the footing, as well as landscape fabric to keep the dirt out.
Then we'll backfill the entire trench with drain rock, all the way to the surface of the adjacent lawn.
HOW HAVE THE TENANTS HANDLED EVERYTHING?
The tenants in the west unit moved all their stuff into the living room and kitchen, and began sleeping on the couches.
The tenants in the east unit were out of town (out of state!) for the holidays when the flood happened, and wouldn't be home for about a week. Ugh.
But they all remained calm as I explained that, once they got home and packed up their stuff, I would get things ripped out and drying right away.
For both tenants I let them know right away that:
January's rent would be waived, and I would make every effort to get all repairs done before February 1.
Also, they were welcome to break their leases and find a new apartment if they didn't want to live through the mess and subsequent project.
(Both tenants declined that offer and chose to stay.)
I also rented them each a U-Haul storage pod and delivered them to the parking lot. That way they could create enough space to at least just function in the now-much-smaller-apartments.

All of the above has so far been met with much gratitude and also empathy, as they know I literally *just* bought this building less than a month before the flood.
It's early yet, and I realize that people are like springs and can only be pressed so far. So it remains to be seen if everyone reaches the finish line with feelings basically intact.
THE REPAIR IS PROGRESSING!
Last week was a doozy. I was on site every single day, usually with a headlamp on pre-dawn, and through to dark again.
It was muddy, dusty, rainy, windy, certainly memorable, and at times a bit tiring.
But.....There has been a TON of progress. Since the last blog post, these are some of the tasks we've ticked off the list:
I installed sump pumps on both ends of the trench and began pumping water to the yard below.
Those pump basins need a daily bath to keep from plugging up.

I jack-hammered a concrete slab so the new footing drain could be extended.
I hand-dug a tunnel under a sidewalk section so the new drain could reach the future outlet.
Foundation Restoration sealed all holes, cracks, and literally every pore of the foundation with a spray-on compound, then a brush-on one, then peel-n-stick, then powder-actuated nail-fastened drainage plane/barrier.


All four windows and trim/flashing were removed.
All sheetrock and insulation against the leaking foundation walls was removed & hauled off.

Action Concrete Cutting spent two days enlarging the windows with a 30" diameter, diesel-truck-powered, water-lubricated, diamond bladed saw-from-hell.

As the saw-operators took turns cutting (about 2-3 hours per window), I filled a wet vac with the silt-filled spray that ran down the inside of my tarps. (Each window literally filled the vac cannister).

(*Remind me to share the story of the adrenaline-spiking mis-adventure from this particular task.)
Highline Construction spent two days installing new, to-code, proper-and-legal egress windows in all four bedrooms.

All baseboard trim in the bedrooms and adjacent hallways was removed.
The Color Pot (note: this link is no longer active) came and measured for new flooring, which is scheduled for installation on Friday of this week.
Sharp's Drywall hung, taped and mudded , and sanded new sheetrock in all 4 bedrooms.

Our electrician prepped all four 240-volt circuits to replace the 50-year-old baseboard heaters for new, infrared, high-on-the-wall mounted Cove heaters. Those go in after paint.
The painter is scheduled for Saturday. Before he arrives, I'll install new baseboard trim.
With the flurry of activity, one set of tenants (reasonably) requested a hotel room. That will end up being a two-ish-week stay.
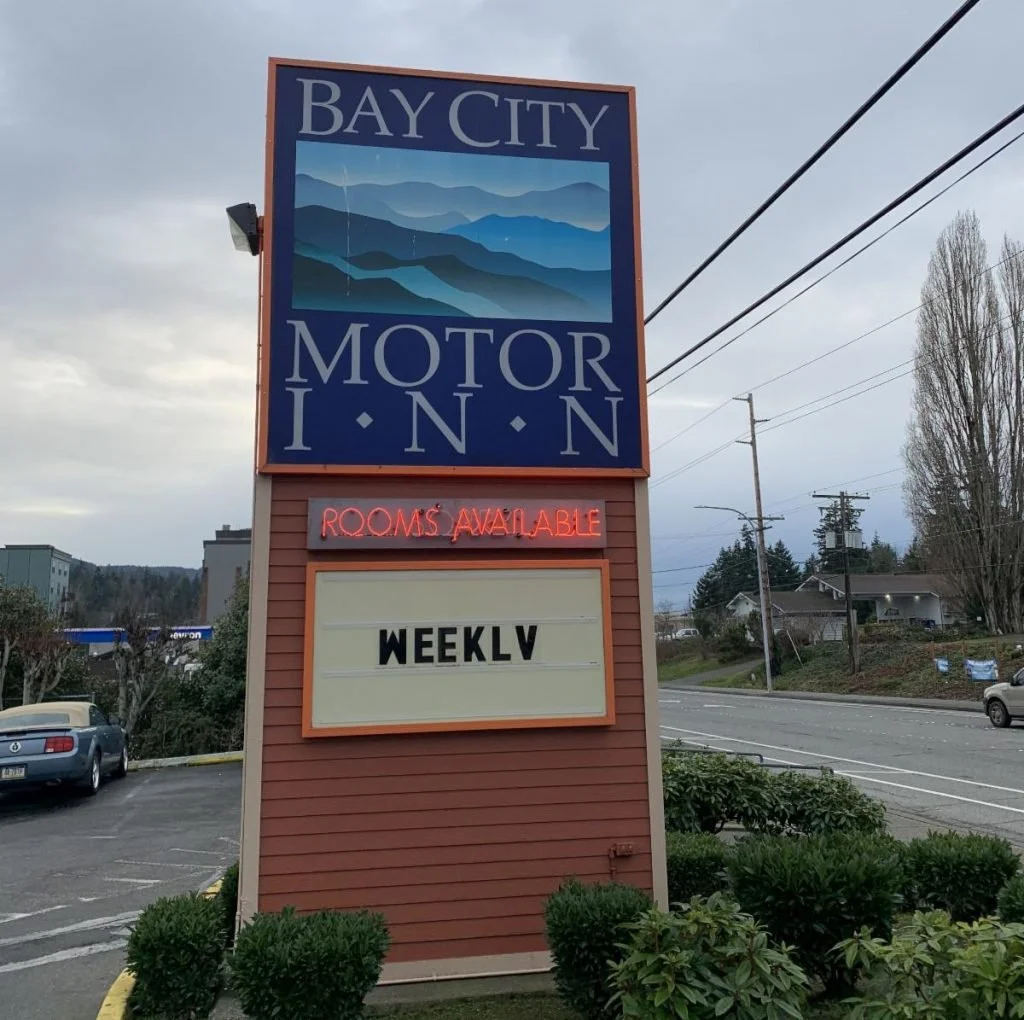
(Plus, how efficient is this hotel's advertising? Even with a re-purposed "V", they hooked me.)
And thanks to all the above....
....If the stars remain in alignment, we could be moving tenants back into their apartments by Monday of next week.
As I mentioned before, once we're all wrapped up with this repair, I will share an itemized list and final costs of this repair.
A Heartfelt Thank You +
I have heard from an increasing number of you since the first mention of this project, and I so appreciate your support and kind words.
I also happen to know that a lot of homeowners, investors, and tenants have been dealt a difficult hand during the recent heavy rains, and mine is just one story of many.
Whatever situation you're in, there is a path through it, there is help available, and if you don't know where to turn, just email or call me. It is the essence of our entire business and it is my pleasure to help if I can!
I PROMISE TO SHARE THE FINAL COSTS
I know that a big question on everyone's mind is, "How much does this all cost?"We're keeping careful records and I promise to share a breakdown of costs when we get it all wrapped up.
We still have interior work to do too, including new flooring, drywall, and paint... but here's what we're looking at:

Just shy of $25K and just under 40 days from panicked phone call to all-done.
This of course doesn't account for any of my own time, which was pretty significant.
Far, far more significant is that I "general contracted" this entire job myself.
I don't say that as a recommendation that you necessarily try the same. It happens to be my background. I share it to make the following points about time and money:
No markup or profit was charged or paid on any of the subs or suppliers;
No delays waiting for a 3rd party general contractor's schedule to free up to even begin the job, much less finish it;
No middle-man delays waiting for a question or request from a tenant or sub to go through someone else before reaching me, then traveling backwards the same way.
To be an out-of-the-area investor or to not have the time, connections, or skills to manage this repair would translate to — in my estimation — a time-frame for completion of 3X to 6X the 37 days it took me, and 3X to 4X the cost.
I am obviously not winning over any of you who are "on the fence" about becoming a real estate investor. But nor would I candy-coat the realities of doing so.
This blog post will always offer up accurate facts, costs, assessments, and my perspective on things, in hopes of helping you make better, more informed decisions, whatever the topic may be.
And the Egress Window Upgrade Cost

I don't want you to think that this was a required project. It was not related to the leakage other than being higher up on the same wall.
Also, the City of Bellingham does not (currently) require egress windows in older buildings to be brought up to current code
I felt it was a worthwhile upgrade considering that we had the foundation excavated and accessible, and that the safety of the larger openings and lower sill height was well worth the investment long-term.
We also upgraded from baseboard heaters to higher-on-the-wall, infrared radiant heaters known as Cove heaters. They feel like you're sitting in the sun, and they heat the furnishings, the floors... not just the air.
The tenants report that they LOVE them!
