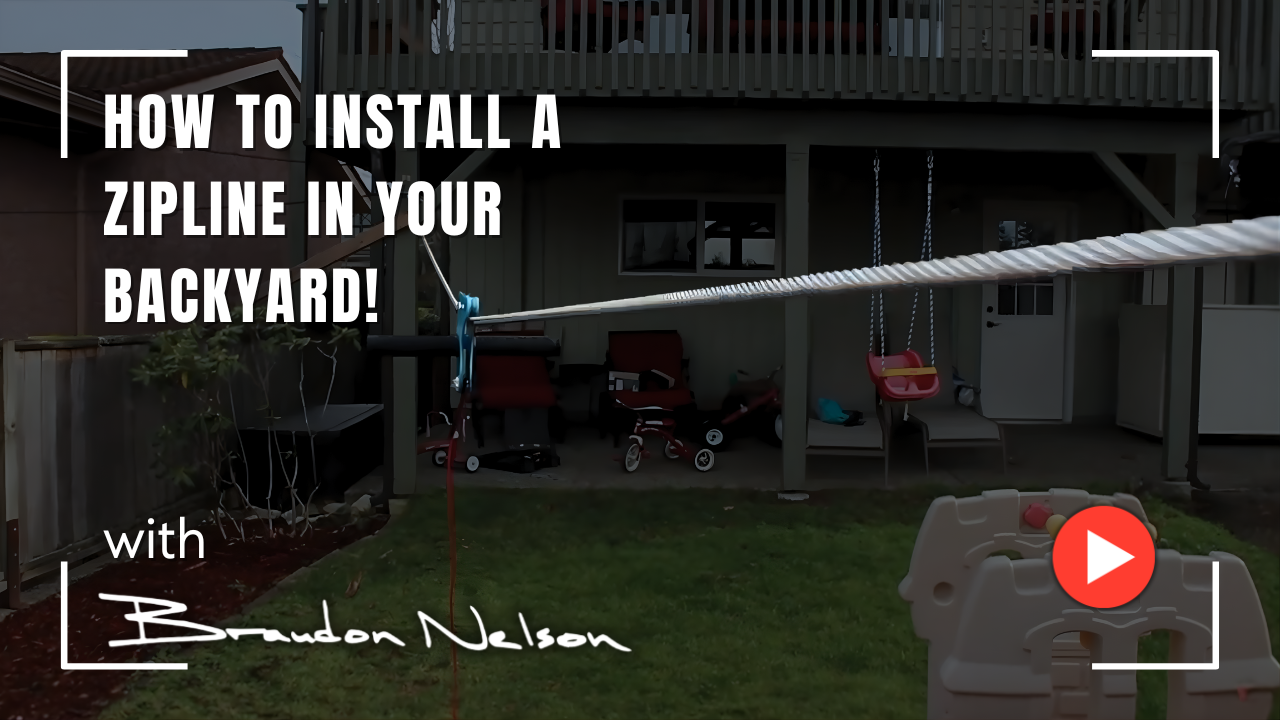
How to Install a Zipline in your Backyard!
Quick Summary
This video teaches you how to quickly install a functional backyard zipline using a single kit. You will learn the steps for rigging anchor cables at the starting and end points, attaching the main cable through a pulley handle, using a turnbuckle for initial slack management, and securing the line with U-clamps. Knowing this process is valuable because it shows how to create an exciting, permanent backyard feature easily. The instructions demonstrate how to properly set the tension and achieve the desired slope for safe zipping.
What you'll need and what to do
To try what's taught in the video, here's what you'll need and the exact steps to follow.
What You Will Need
• Zipline kit (including cable, pulley handle, anchor cables, turnbuckle, and U-clamps)
• Starting point and end point (such as posts or trees)
Action Steps
1. Rig the anchor cable around the post (or starting point).
2. Attach the anchor cable to a turnbuckle that has been loosened all the way out.
3. Attach the main cable to the turnbuckle.
4. Run the main cable right through the pulley handle (which has stainless steel pulleys).
5. Rig the second anchor cable at the end point.
6. Run the main cable through the second anchor cable.
7. Pull all the slack through the main cable.
8. Secure the end of the cable using three U-clamps.
9. Get the U-clamps semi-tight.
10. Pull a lot of the slack out of the main cable.
11. Crank the nuts on the U-clamps tight.
12. Move the end anchor up and down until the desired slope is achieved.
13. Ensure the zipline is anchored at both ends, fully clamped, and under tension.
Word for word video transcript
Hey everyone Brandon Nelson and in one minute we're going to turn this cable in this pulley handle into a backyard zipline everything we need to rig the zipline I bought in this single kit on [Omitted URL] for about 90 bucks we're in my buddy Tom and Jen's backyard and we've identified the starting point and the end point for the zipline at the starting point we've rigged this anchor cable around this post it's attached to a turnbuckle that's been loosened all the way out next step is just to attach the cable to the turnbuckle then I'm going to crank that this handle has stainless steel pulleys on it we're just going to run our cable right through it at the end point we've got another anchor we're going to run the cable through it and pull all that slack through this is called a u clamp we're going to use three of them to hold this end secure I'm going to get that semi tight and then we're going to pull a lot of the slack out of the cable now I'm going to go ahead and crank these nuts tight now we're going to move this anchor up and down until we get exactly the slope that we want all right it's anchored at both ends fully clamped under tension and ready to start zipping this has been Brendan Nelson for one minute I'll see you next time.
Learn more with Brandon in One Minute