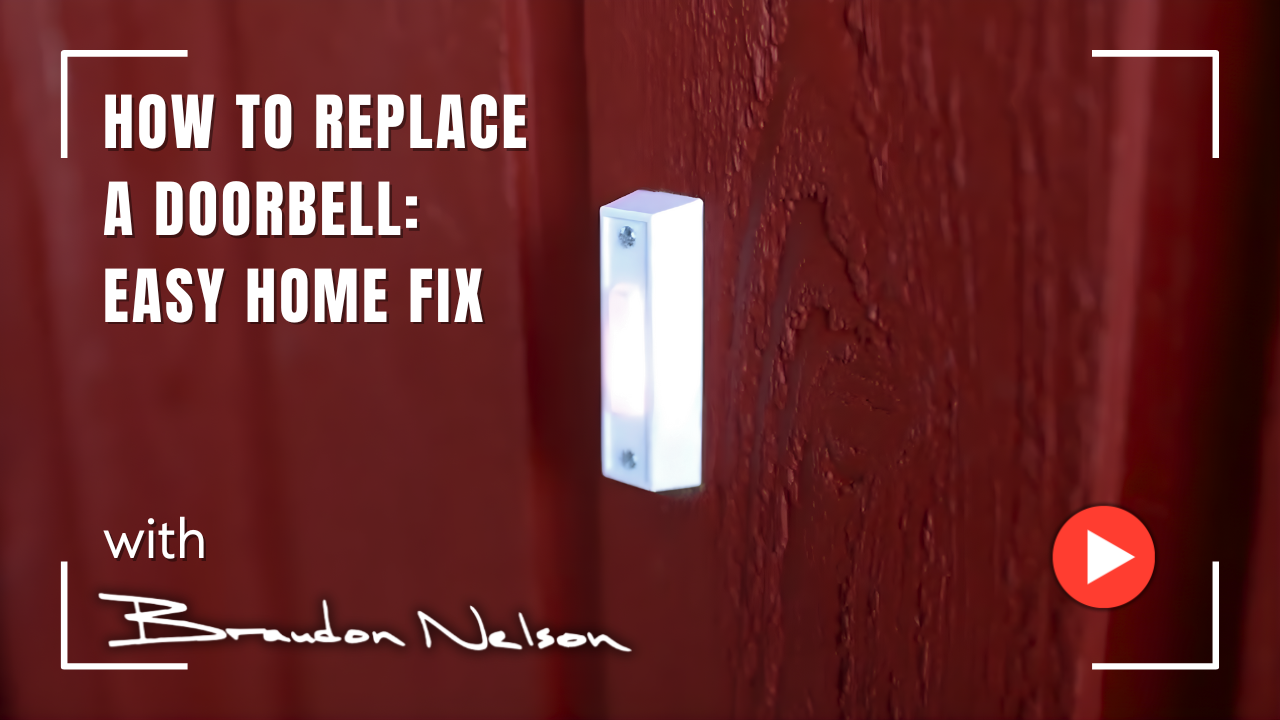
How to Replace a Doorbell: Easy Home Fix!
Quick Summary
This video teaches you how to replace a missing or broken doorbell button. You will learn the simple steps for creating loops in the low-voltage wires and connecting them safely to the new button's screws. This is an excellent project for beginners because it involves very simple electrical work and is completely safe, as doorbell wires do not carry any serious electrical load. Knowing this trick ensures your doorbell is functional, and the same process applies to replacing a garage door opener button.
What you'll need and what to do
To try what's taught in the video, here's what you'll need and the exact steps to follow.
What You Will Need
• Missing or broken doorbell button (to be replaced)
• New doorbell button
• Low-voltage doorbell wires
• Needle nose pliers
• Screws (to fasten the button to the wall)
Action Steps
1. Use a pair of needle nose pliers to turn a loop in each of the two low-voltage wires.
2. Hook each of the looped wires around a screw on the new doorbell button.
3. Tighten the screws.
4. Test the doorbell.
5. Use the two remaining screws to fasten the doorbell button to the wall.
6. (Optional Tip: Apply the exact same process to replace a garage door opener button).
Word for word video transcript
Hey everyone Brandon Nelson and in one minute I'm gonna show you how to replace a missing or broken doorbell button now this is a really good beginner electrical project because it's so simple and safe doorbell wires are low voltage wires they're not carrying any serious electrical load and a doorbell button is really nothing more than a spring-loaded switch so all the doorbell button is really doing is just connecting these two wires so we're gonna just connect these two wires to these two screws first thing we're gonna do is just use a pair of needle nose pliers to turn a loop in each one of these wires then we just hook each one of them around the screw and then tighten that screw you can see this is a light-up doorbell and it's already powered up and if we test it that's working perfectly the last step is to just use these two screws to fasten it to the wall and bam we are done now here's a quick tip replacing a garage door opener button is the exact same process what do you want to learn in one minute type it in the comments below this has been Brandon Nelson for one minute thanks for watching.
Learn more with Brandon in One Minute