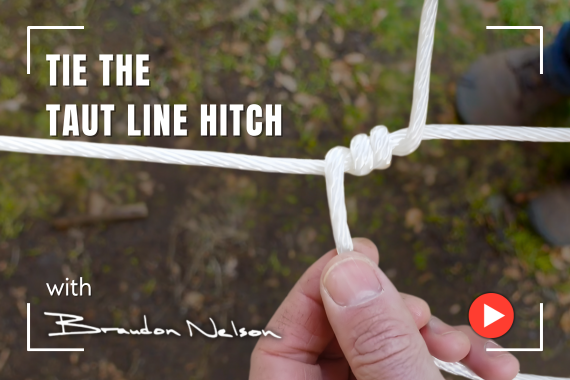
How to Tie the Taut Line Hitch
Quick Summary
You will learn how to tie the Taut line Hitch, an essential knot that allows you to pull a line tight and maintain that tension effortlessly. The video breaks down the simple steps needed to create this adjustable knot, explaining how to perform the crucial twists and the final half hitch. You want to know this knot because it has a million practical applications, particularly when rigging a simple clothesline or securing a tarp, allowing for quick adjustments to the line's tightness.
What you'll need and what to do
To try what's taught in the video, here's what you'll need and the exact steps to follow.
What You Will Need
• Rope or line (the video used quarter-inch braided nylon).
• A pole or fixed object to fasten the line to.
Action Steps
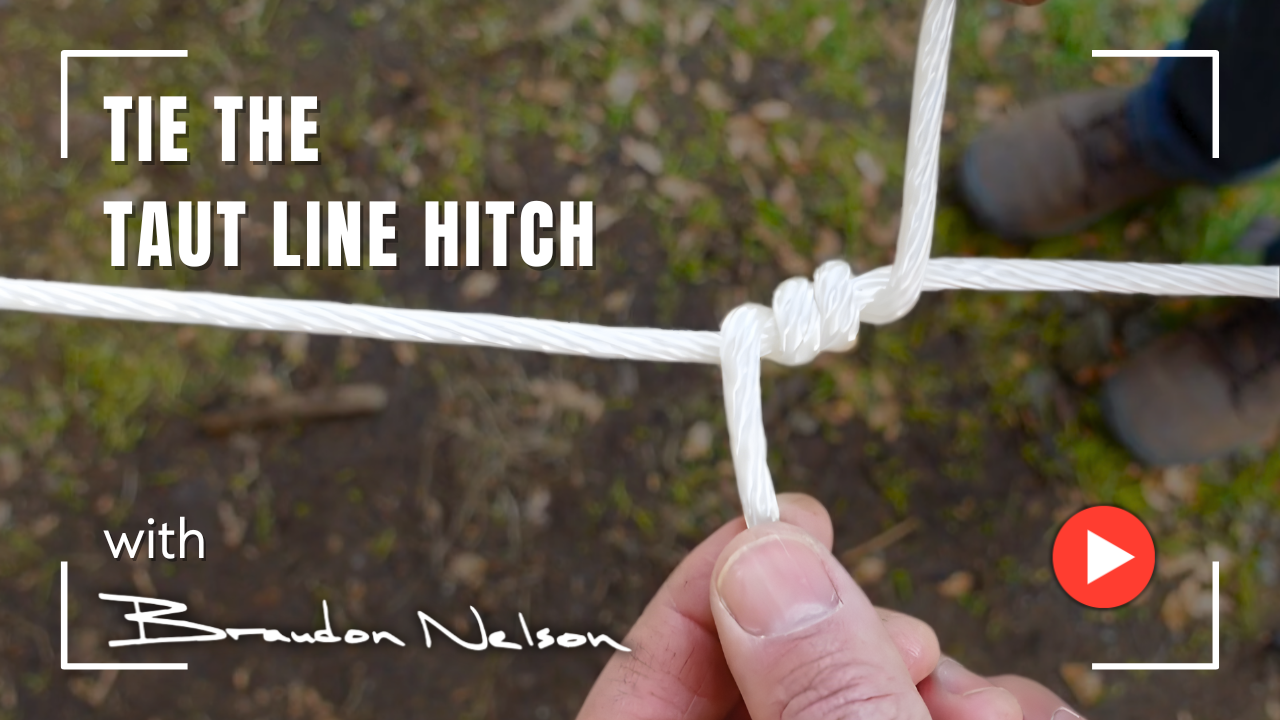
1. Fasten one end of your line to a pole using an initial anchor knot (a ge hitch was used in the video).
2. Bring the working end of the line around the pole.
3. Cross the working end over the top of the standing end.
4. Twist the working end around the standing end three times.
5. Come outside of the twists and perform a half hitch around the standing end.
6. Pull the knot in firmly to secure it.
7. Hold the knot and slide it along the standing end until the line is pulled as tight as you want it.
8. To loosen the line, grab the knot and slide it back along the standing end.
Word for word video transcript
Hey everyone, Brandon Nelson, and in one minute I'm going to show you how to tie the Taut line Hitch.
First of all, shout out to my buddy Ken Katz who reminded me of this awesome knot. If you've ever said, "I wish I could just pull a line tight and have it stay tight on its own," that's the Taut line Knot. The Taut line Knot has a million uses, including just rigging a simple clothesline or rigging a tarp.
To start, we just fastened one end of the line to this pole with a GE hitch, and I'm just going to come around this pole. Now I've got my working end and my standing end. I have my working end, I'm going to cross it over the top of the standing end, and then I go one, two, three twists around the standing end so it looks just like that.
Then I'm going to come outside and do a half hitch around the standing end. Pull it in, and that's it. That is the knot right there.
Now watch what I do with it. I'm going to hold that knot in this hand and I'm going to pull it along the standing end until it's as tight as I want it. Then let it go and it holds that tension.
Okay, one more time. I just grab that knot, slide it along the standing end, and it holds tension. Pull it back along the standing end and I can loosen it.
For this video, I'm using quarter-inch braided nylon. It's pretty slippery rope. That's why I was doing three turns around the standing end. With other ropes, you can get away with two turns, or you can do four or five. The knot works the same no matter what.
This has been Brandon Nelson for one minute. I'll see you next time.
Learn more with Brandon in One Minute